

Part III: The Fig Chronicles
Part III: The Fig Chronicles
Harvesting, storage, propagation and other thoughts

Only three weeks to go before spring! (meteorological spring, that is, which begins March 1st).
This is the last installment in a series on growing figs in cooler climates (see also Part I and Part II).
Common fig varieties generally produce main crops in the latter part of summer and early fall in the temperate climate zones 5-7. Depending on the variety and vicissitudes of nature, some will yield an early breba crop from figlets forming early in the season on previous year’s woody growth (these typically ripen early in summer). You can generally tell when a fig is ripe when it takes on a deeper color, softens and droops on its stem. This sequence of photos illustrates a ripening fig. It’s preferable to harvest a day or two late (you may have to dislodge a wasp or other insect attracted to the ripe fruit ) than to harvest too early.
A common problem for fig growers is having trees loaded with unripe fruit late in the growing season, causing worries about harvesting that main crop before frost. Beginning about a month and a half before the first expected frost (early September for many of us), there are things you can do to spur ripening, aside from making sure trees have adequate supplies of water and fertilizer. These measures include pinching out stem growth tips and removing the smallest fruit to get the tree to put its energy into ripening the remaining figs. A later tactic is using a Q-tip to apply a couple drops of olive oil to the “eye” of the unripe fig opposite the stem attachment. This supposedly seals the fruit enough to keep ethylene gas from escaping and encourage ripening. Figs that are more than a day or so from full ripeness will not ripen further indoors, though some claim that sealing unripe figs in a plastic bag with a banana or apple will produce enough ethylene gas to get the figs to ripen (all I’ve gotten out of this is mold). If you have a large number of sizable unripe green figs at season’s end and cold weather threatens, you can harvest them for recipes including green fig jam, which I’ve had success with. The green fig jam will keep up to several weeks in the refrigerator.

This article details the main strategies for getting recalcitrant figs to ripen.
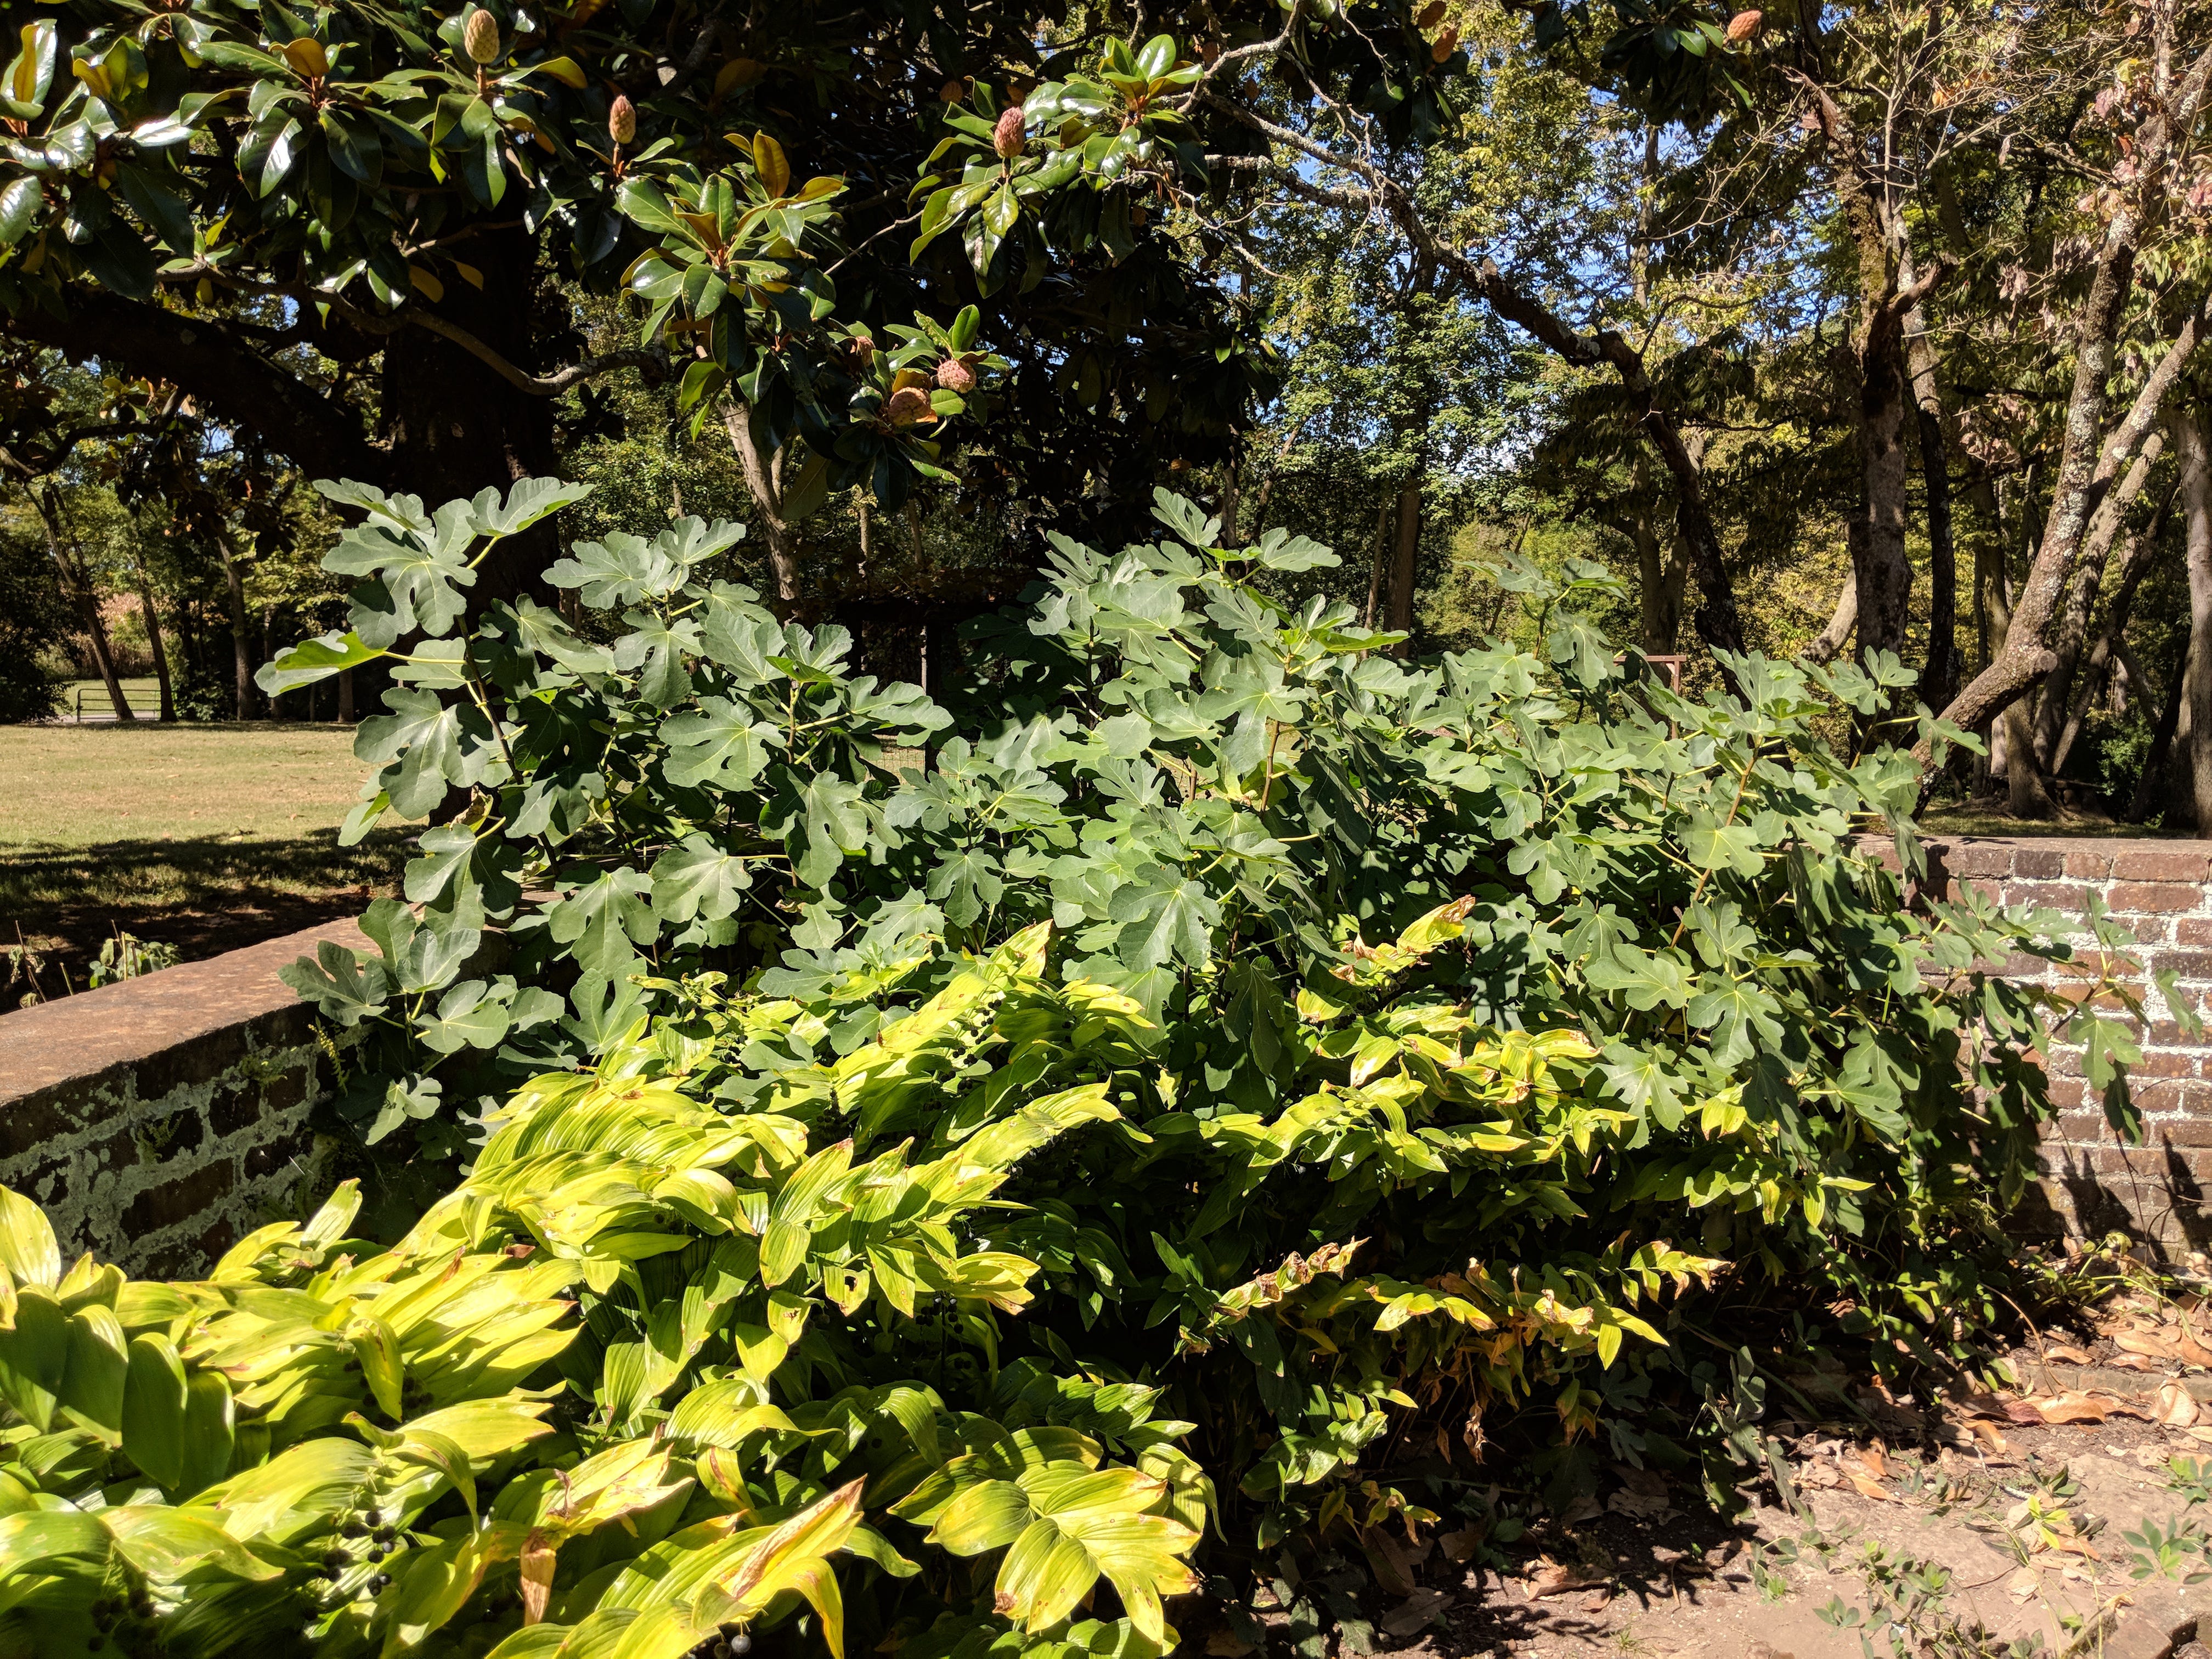
Winter protection for fig trees grown outdoors in cold climates has spawned a lot of differing opinions and considerable controversy. What steps you’ll want to take will depend on climate/microclimate (a fig grown in a protected location against the south wall of a house will need less protection than one in open ground) and energy level.
The path of least resistance involves growing fig trees in an open, sunny spot, mulching the base of trees for winter and letting it go at that. With proper variety selection, even when trees are killed to the base in a harsh winter, they’ll fruit on new growth - theoretically. I haven’t harvested a lot of fruit this way. Some people dutifully wrap their fig trees for winter protection (this was a common sight in Italian neighborhoods where I grew up). Trenching is a labor-intensive way to protect your trees, as described in this article. Pruning young figs into a form with low horizontal branches amenable to easier winter protection is an appealing strategy I plan to apply, as covered here.
Winter protection is somewhat simpler if you grow figs in large pots/tubs. The strategy here is to let your trees experience several frosts so that they drop leaves and go into dormancy. Before temps get really cold (i.e. below the low 20s), move the dormant figs into a location that will stay cool over the winter without getting truly frigid. My storage spaces include an unheated garage that usually stays between 25-45F until spring. Potted dormant figs readily survive temps down to around 15F; below that there’s risk of cold damage (I’ve had large trees come unscathed through readings down to about 13F). What you don’t want is temps warm enough to spur new growth prematurely. Unless you have ample sunny window space, that new growth will be spindly, pale and weak long before trees are ready to go back outdoors. Watering of dormant trees should be cut back over the winter, supplying enough water to thoroughly dampen the soil ball, then letting it dry out but not go bone dry between waterings. Watering every three weeks or so works for me. Once temperatures warm, figs “wake up” and start into growth. The trick is to wait as long as possible before reintroducing plants to the outdoors, timing the move to avoid spring frosts which readily kill tender new growth while not delaying so long that the new shoots get pale, weak and elongated. Inevitably you’ll find yourself doing the “fig shuffle”, taking advantage of warm days but moving pots back into protection when cold temps threaten.
Winter dormancy is a great time to expand one’s fig collection by taking cuttings from existing stock or through acquiring new varieties online.
It’s theoretically possible to grow fig trees from seed. Some people have done this for the heck of it, or to get new varieties (seed-grown plants are unlikely to be as good as the parent). Since the seedling-to-fruiting-tree process will take considerably longer than with vegetative propagation, most fig growers propagate their plants from cuttings. There are a couple of ways to do this.
As with many plants in active growth, softwood (green) cuttings are pretty easy to root. Simply cut off a 5-7 inch long shoot with several nodes, remove all but the top couple of leaves and stick the cutting in a pot with moist potting soil, providing humidity with an enclosed plastic bag or humidity dome, placing the pot in bright light but not direct sun for the (usually) few weeks it takes to thoroughly root. Then you can gradually decrease the amount of humidity i.e. by partially opening the plastic bag, and accustom the cutting-grown plant to outdoor growing conditions - again, this should be a gradual process.
The most popular way of increasing your collection (and of acquiring new varieties) is to use hardwood cuttings, taken after the plant has entered winter dormancy. There are numerous online sellers and periodic sales events over the winter - fig groups on Facebook are a source of information on favored suppliers.
For best results, a hardwood cutting should be at least 3/8 of an inch in diameter, the thicker the better (within reason - handling a baseball bat-sized cutting indoors can be a trial). I use a slightly modified version of the technique favored by Harvey Correia (see video at the bottom of the linked page), whose annual Figaholics sale has long been a major event for fig fanciers. Again, you optimally take a 5-7 inch long cutting, which can have a dormant growing tip or come from the middle of a shoot. It should have at least 3-4 nodes, from which new growth can sprout.
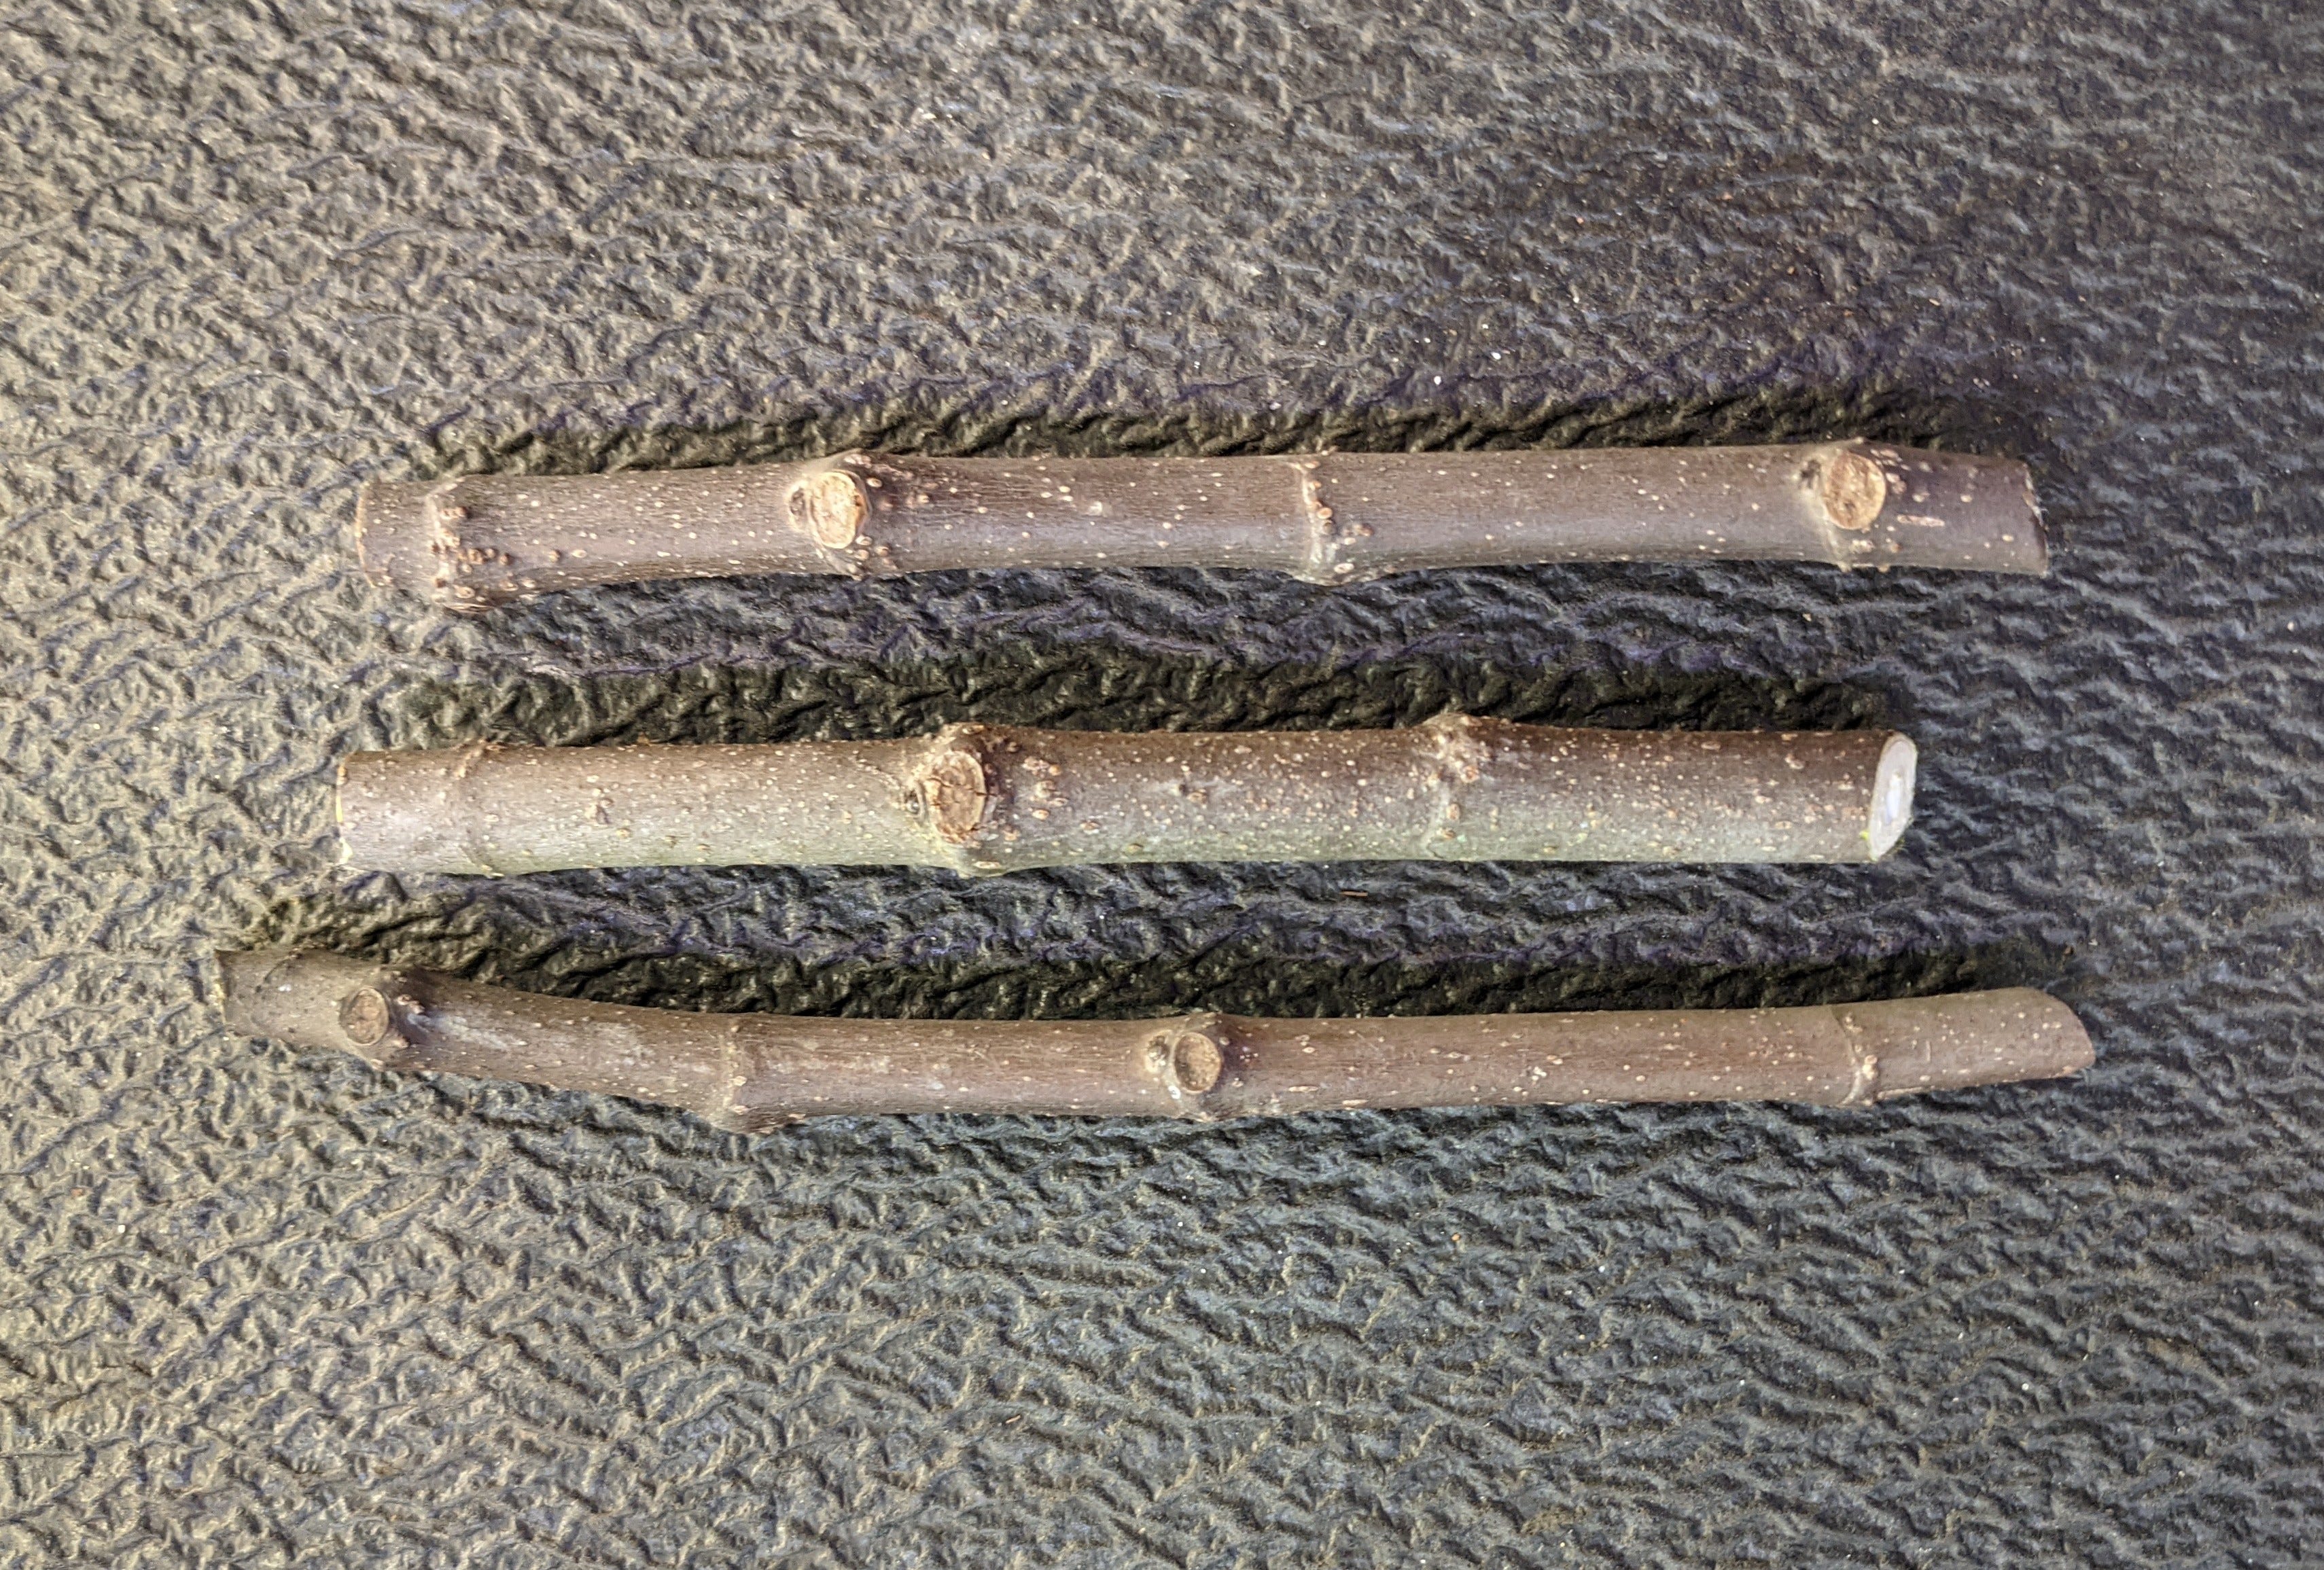
For mid-shoot cuttings you can tell right side up by looking for the little bump of an incipient sprout, which is just above a small scar where a leaf was formerly attached (even if you goof and insert the cutting upside down, it will adjust and start growing in the right direction).
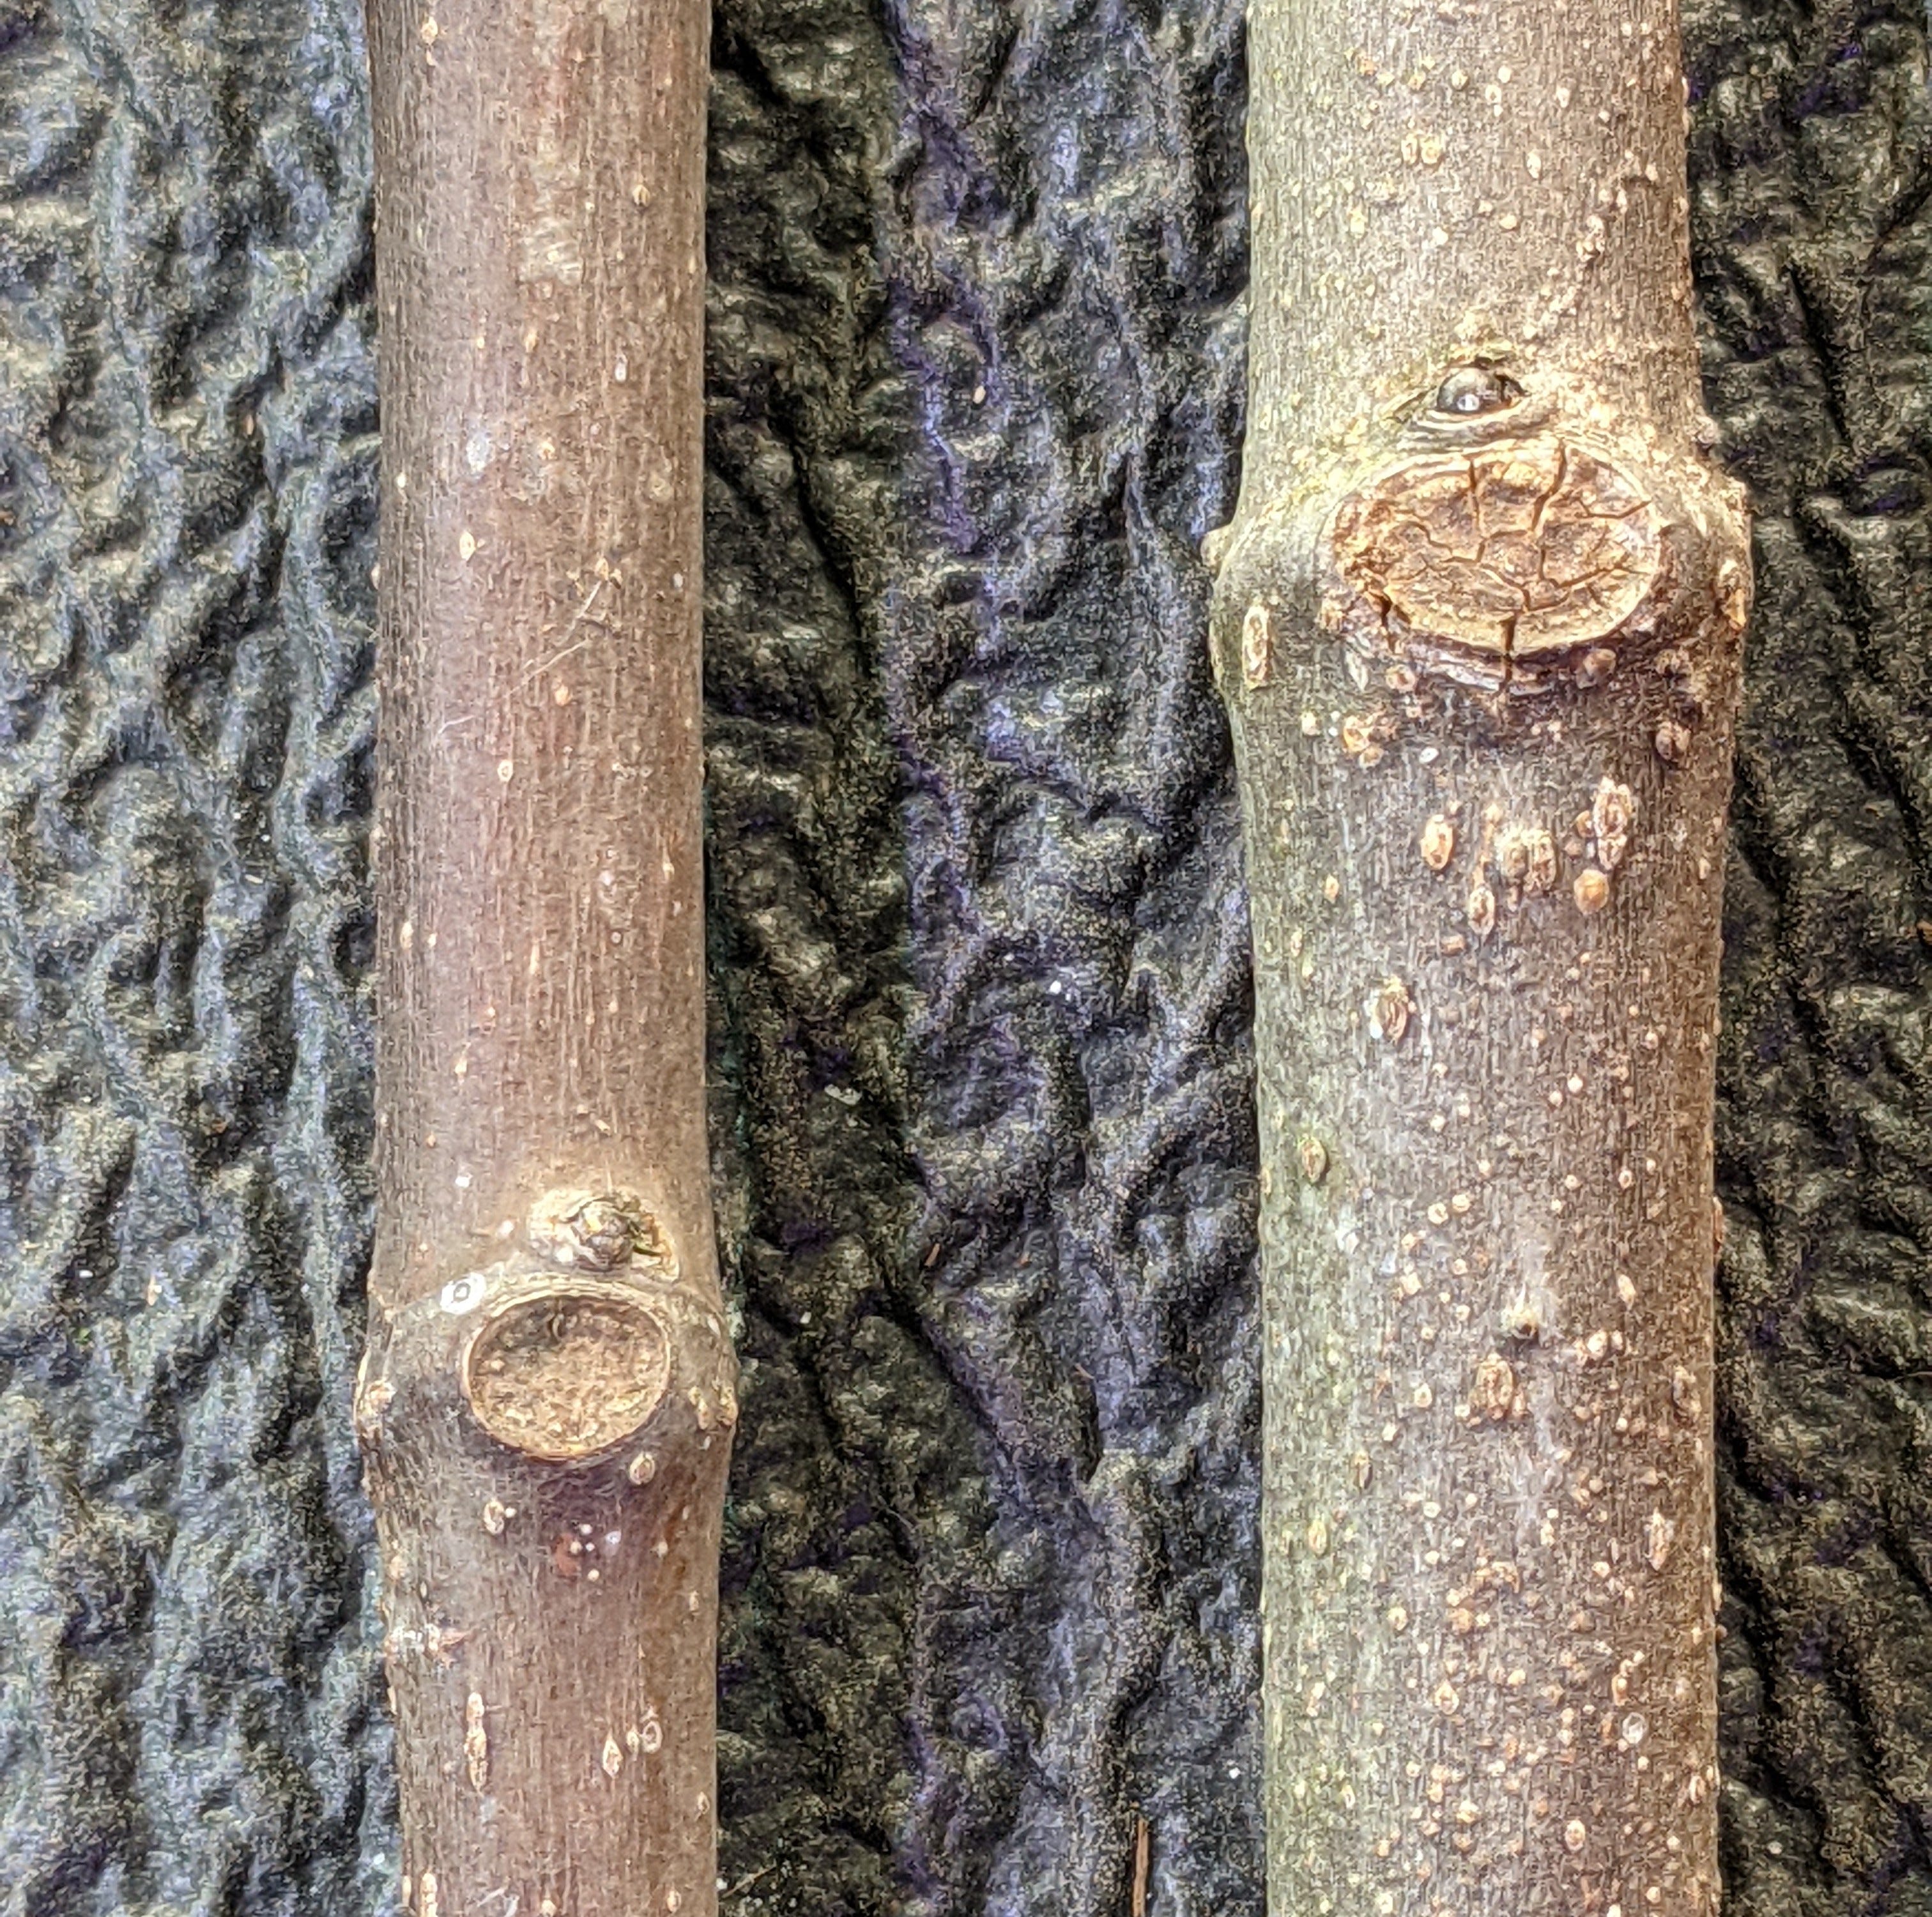
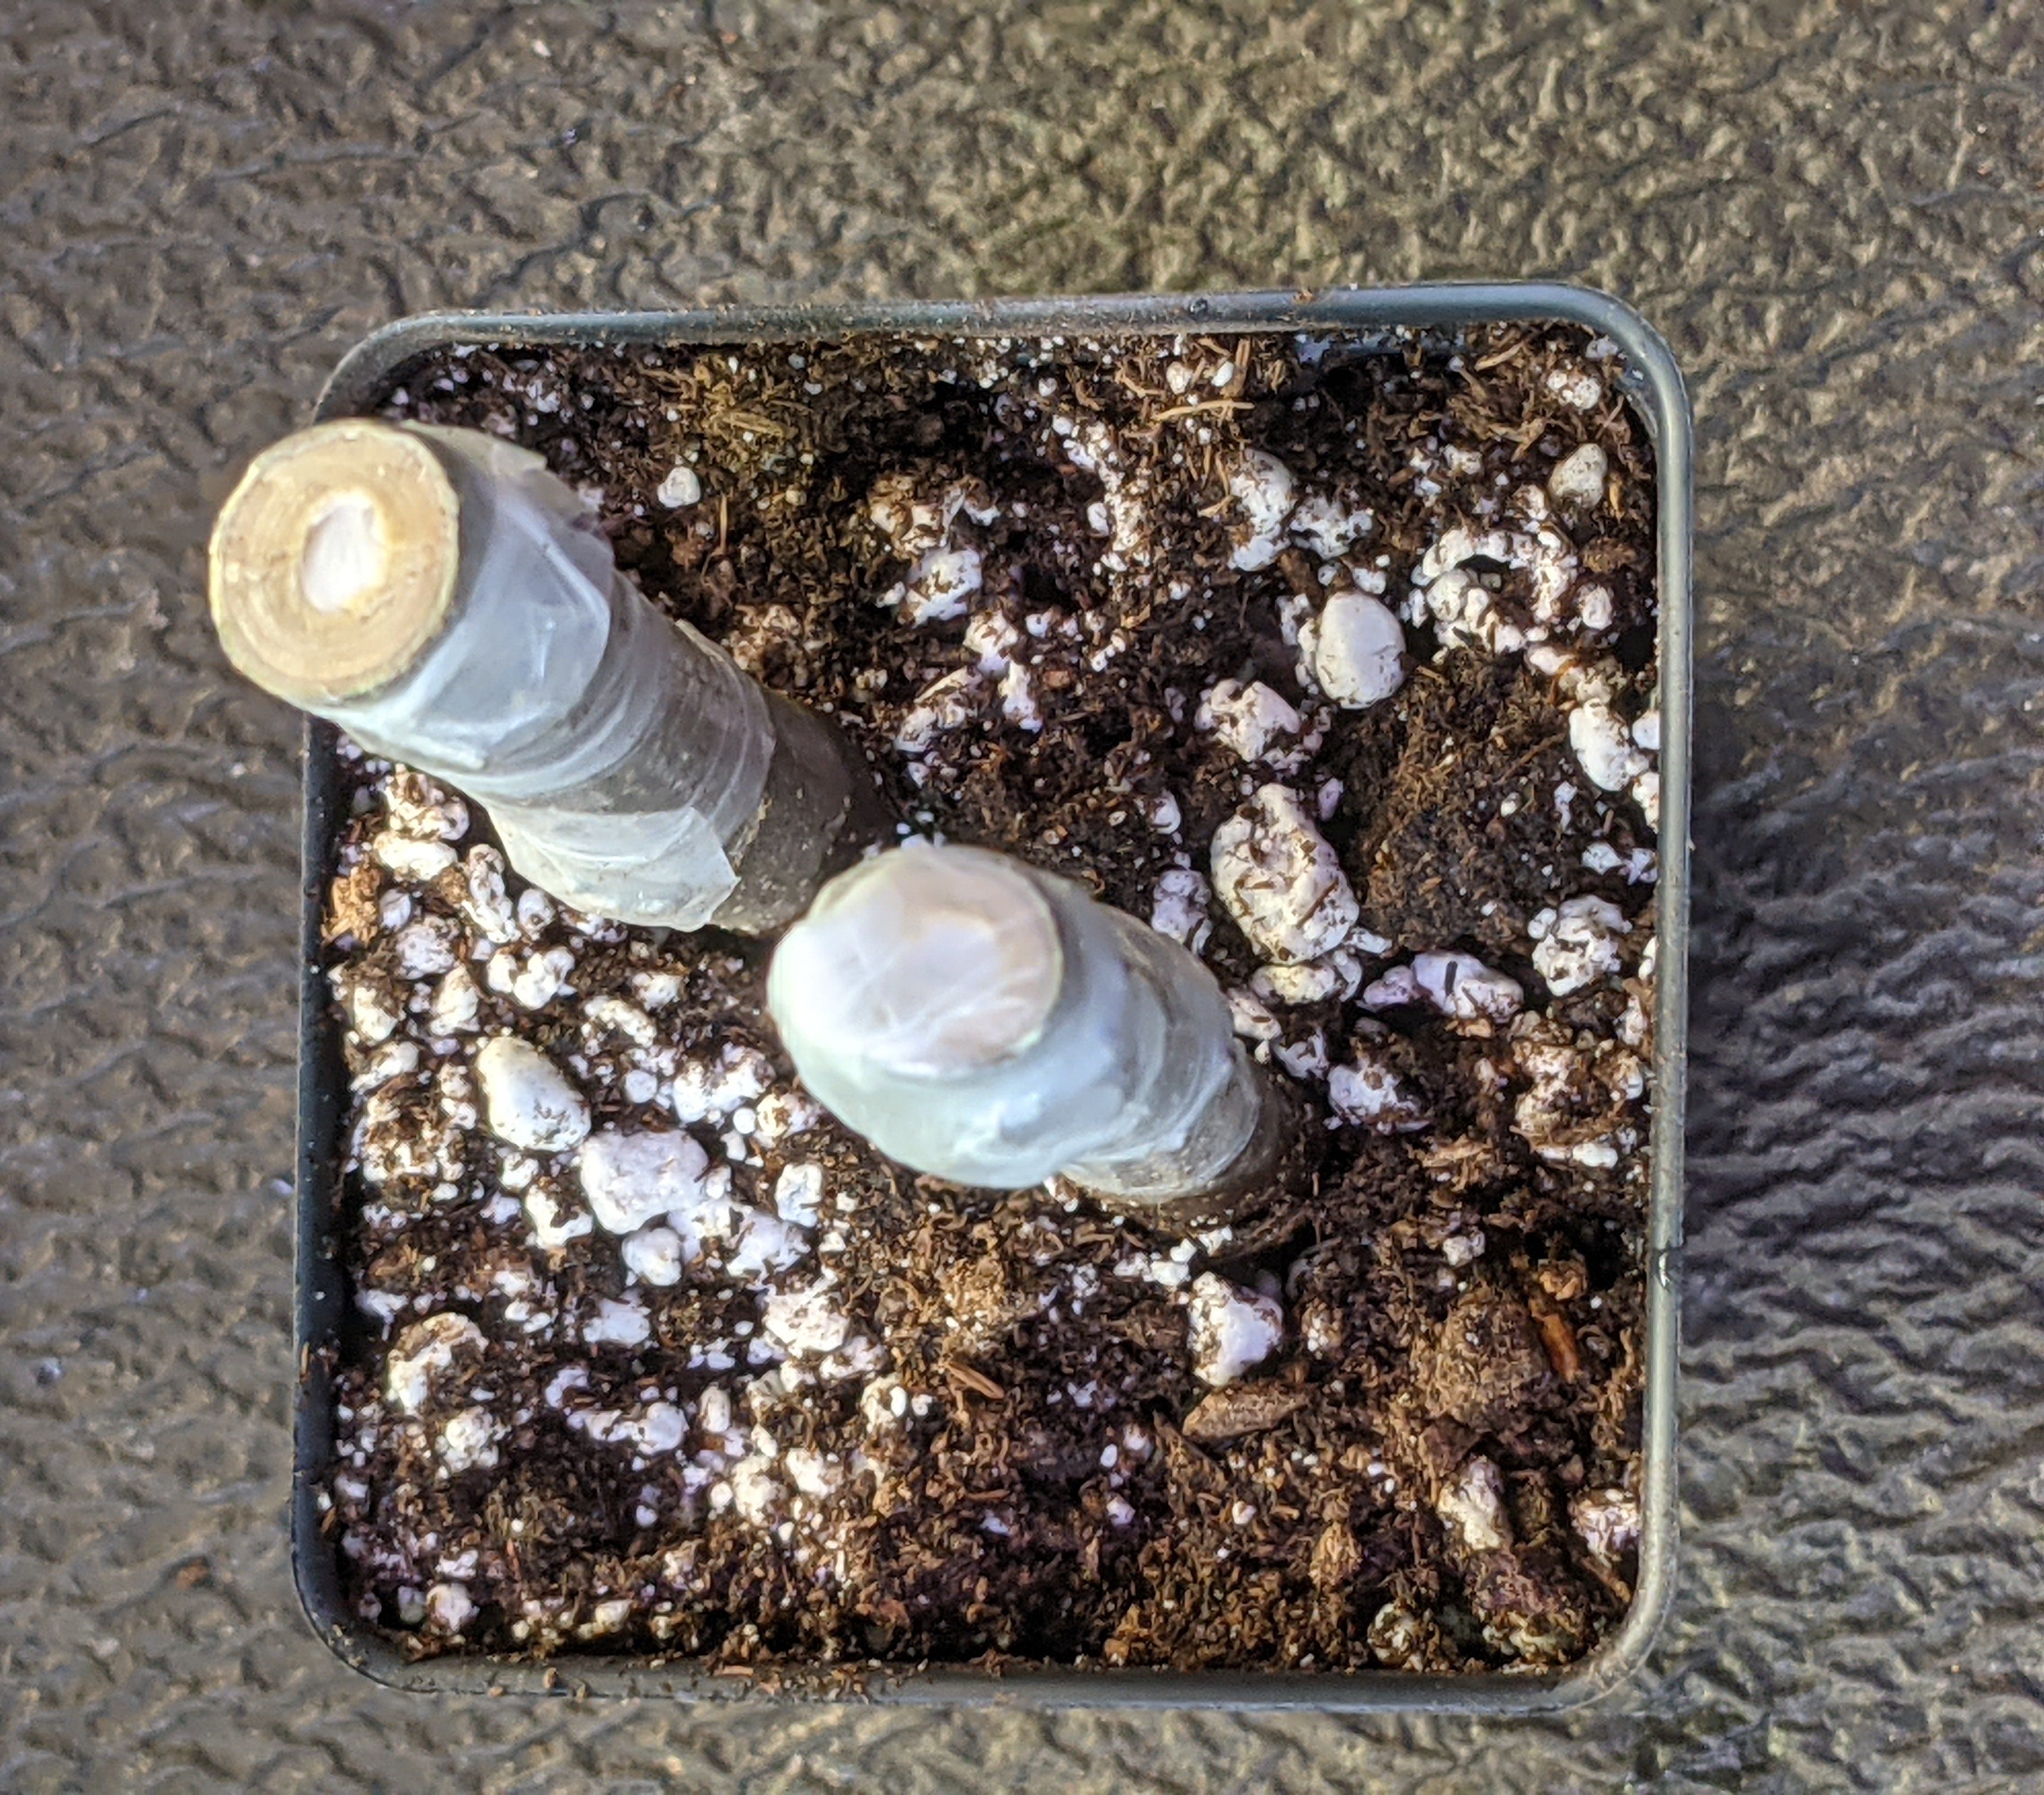
Using a sharp knife, bypass pruning shears or similar implement, slice off the outer layer at the bottom of one side of the cutting, going through bark to get to the green cambium layer underneath. This cutting or scoring can be an inch long or so - the exact length isn’t critical. New roots are more likely to form along this scored area as well as the bottom of the cutting. You can trim off the very bottom of the cutting if it looks dried out. I generally make shorter superficial slices further up, covering additional sides of the cutting. At this point you can dip the cutting in a powdered rooting hormone or gel (generally containing an auxin, IBA) which is not essential but may speed up rooting. If you’re using a tip cutting, no further preparation is needed. If it’s a mid-shoot piece of hardwood which has opposing cut ends, it’s a good idea to seal the top to prevent it from drying out. Some people favor melted paraffin wax as a sealant. I use parafilm, a thin thermoplastic sheet that comes in a roll at convenient widths, used in microbiology for sealing test tubes and Petri dishes, but also in horticulture in applications like covering graft sites. You wrap the top inch or two of the cutting tightly in parafilm, which covers the topmost growth node. When the bud expands it’ll easily push through the parafilm, which never has to be removed. The cutting is then inserted into a moist medium like Pro-Mix which drains rapidly and helps prevent root rot. No covering is needed. In fact, the added humidity of a cover promotes rotting and/or activity of tiny fungus gnats, which are typically more of an annoyance than a hindrance to cutting growth. Some have described damage to growing cuttings due to fungus gnat larvae, which eat fungal elements and organic soil matter but may also dine on plant roots. Letting the soil surface of cutting pots dry out between waterings discourages fungus gnats. There is a product called Gnatrol which can be used in watering (it’s a biological larvacide using Bacillus thuringiensis, considered safe for human use).

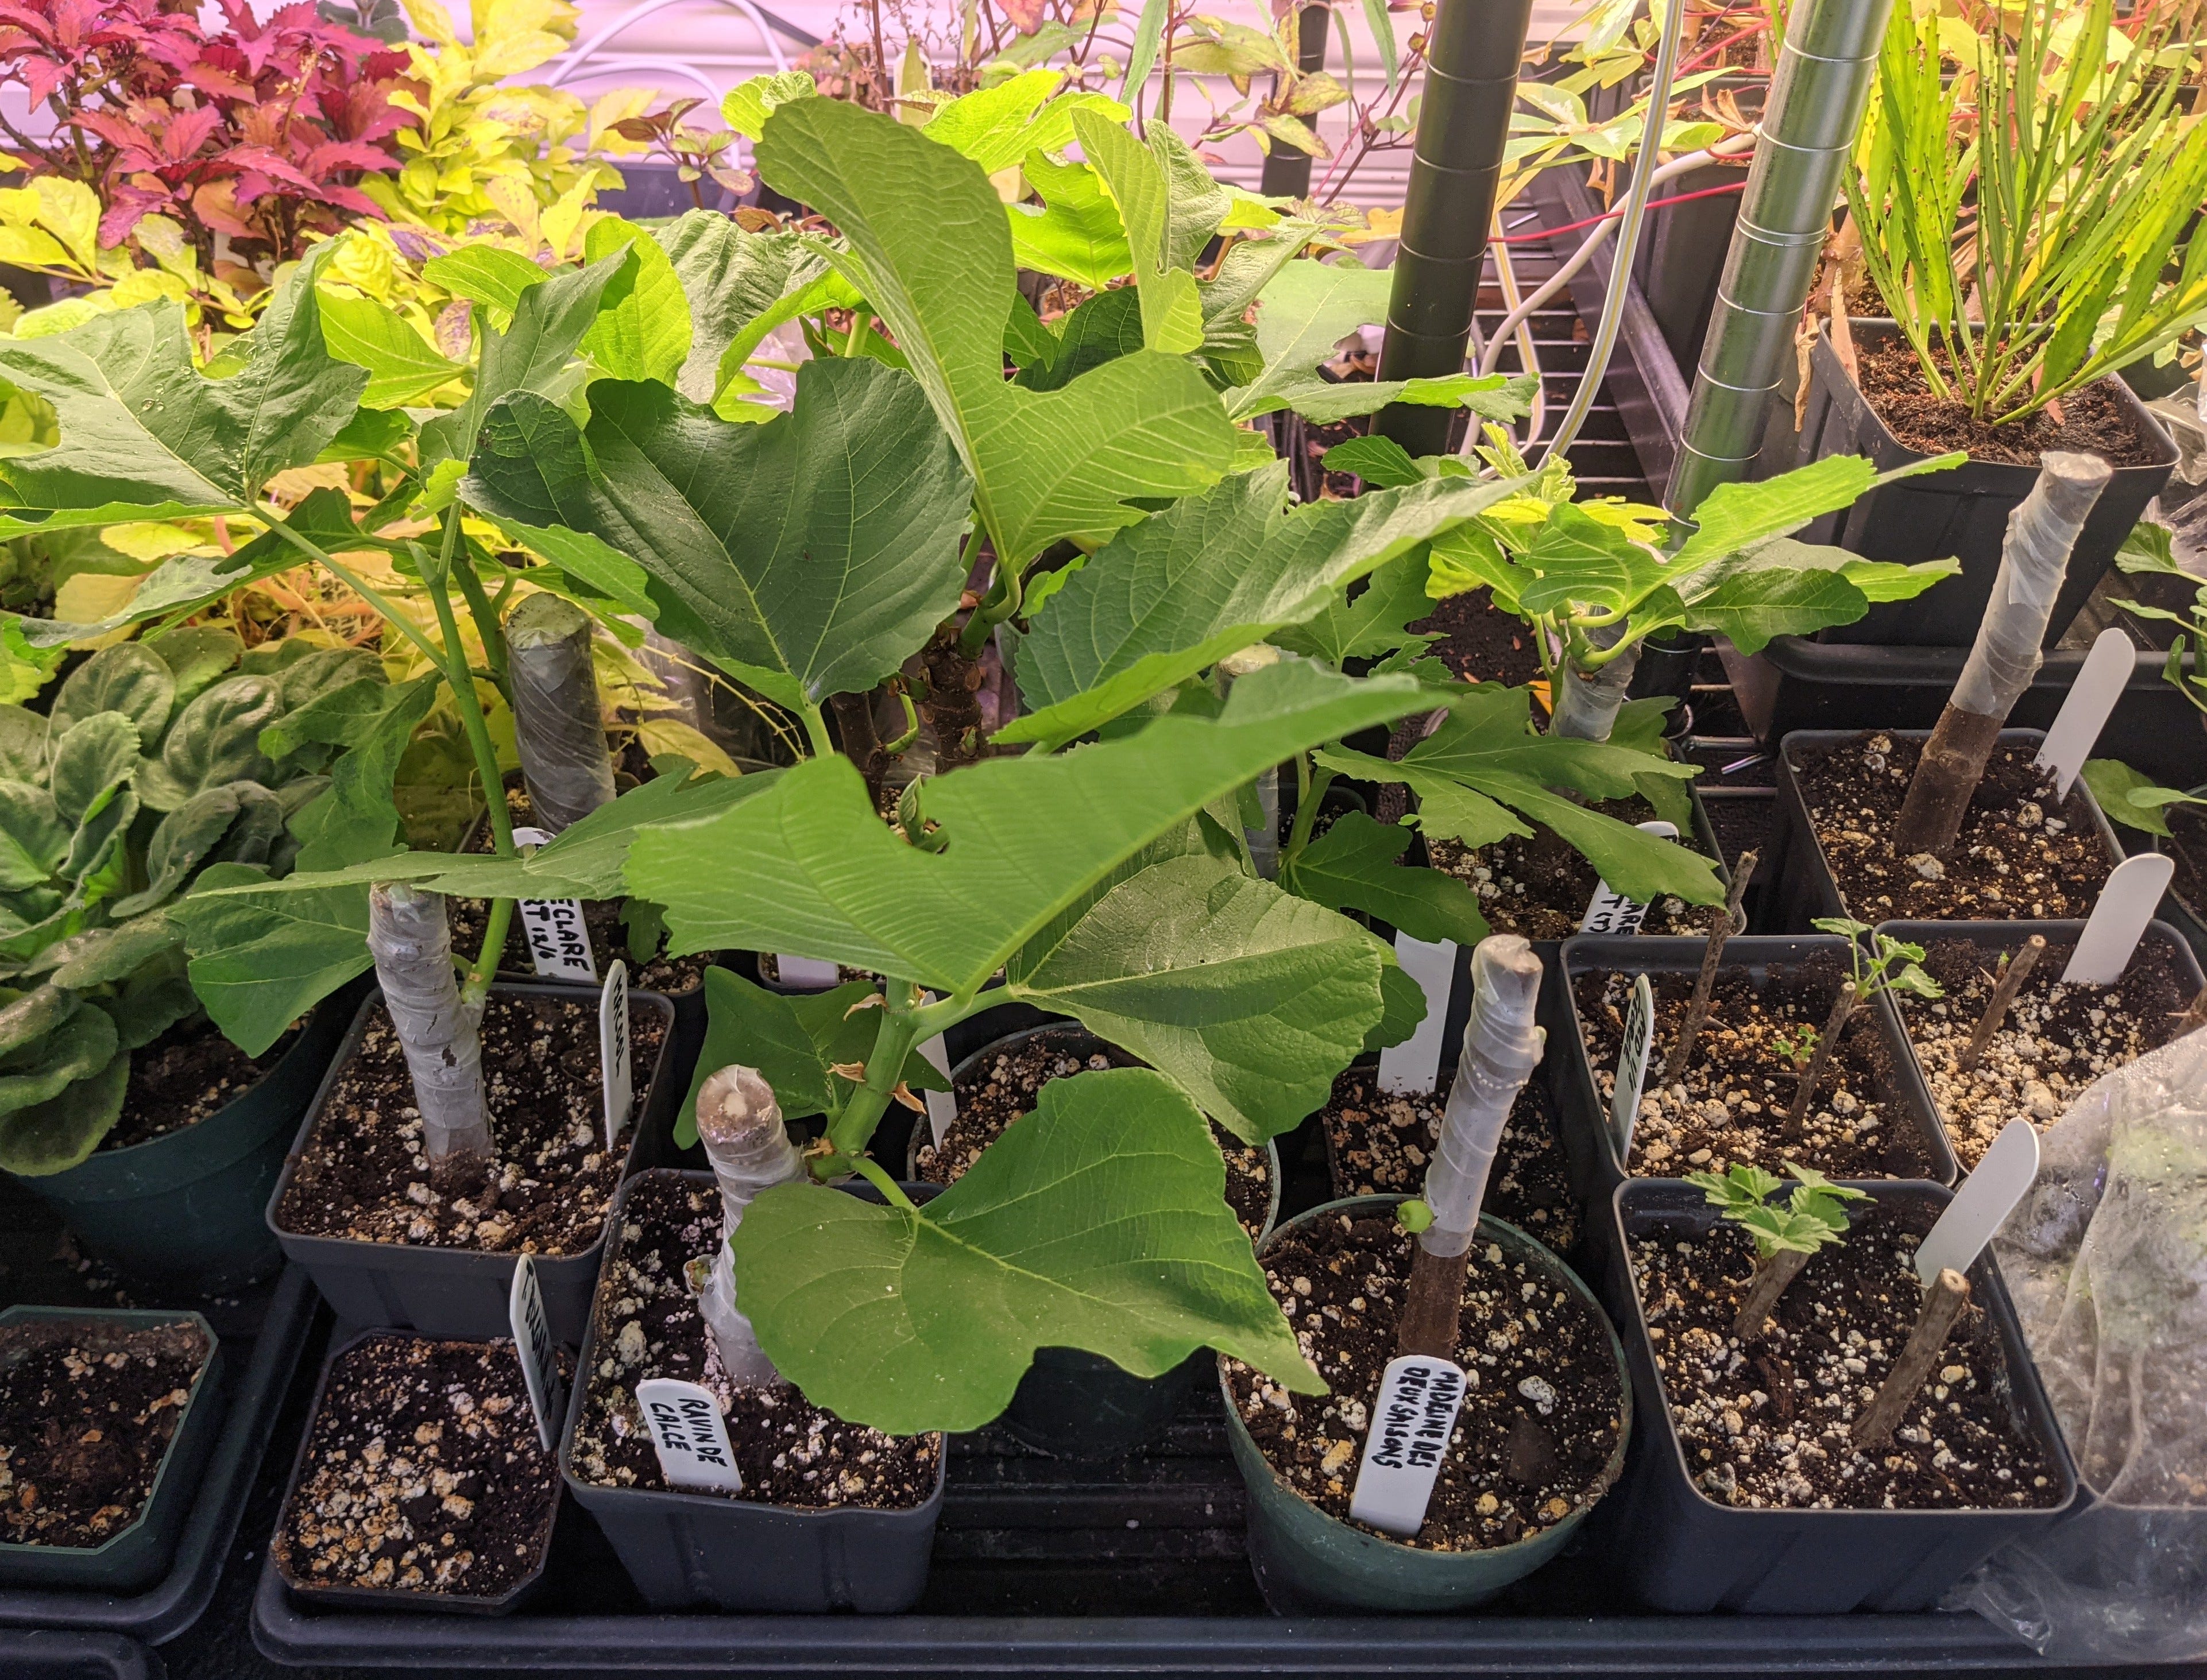
There are numerous additional methods of taking and growing cuttings, details of which are available online and via YouTube videos. One popular method is the fig pop, which involves sealing the bottom portion of the cutting in a soil medium-filled plastic bag. The major “advantage” here is that you can see when roots start to form. It’s never seemed like a good idea to me to expose roots to light, plus taking the growing cutting out of the bag for repotting can cause disruption of the root ball more than if you left the cutting in a plastic pot where the root ball is more likely to come out in one piece when you remove it for repotting. I use either standard 4” diameter plastic pots or a deeper pot for rooting and growing on cuttings (some growers use “tree pots” to encourage deep rooting). A cutting has likely thoroughly rooted if active vegetative growth has been observed for a month or two; if when you upend the pot to slide the rootball out you see few or no roots at the periphery of the rootball, just put it back in the pot to continue growth for awhile.
Sometimes after new leaves have unfurled from a cutting, a leaf or two may drop off prematurely, which is common and not a cause for concern. More serious is when leaves on a newly emerged green stem start to wilt. This generally indicates that roots aren’t sufficient to transmit moisture to the leaves. In that case you can try encasing the pot in a plastic bag to provide more humidity, but my experience is that once a significant wilting has occurred, it’s sayonara to that cutting. A related controversy in rooting dormant fig cuttings is the amount of light that the newly stuck cutting should receive. One school of thought has it that the cutting should be kept in darkness to promote rooting at the expense of top growth. What I’ve found is that the cutting will start into vegetative growth when it feels like it, no matter what you do. I’ve had excellent results starting cuttings in a window receiving several hours of sun per day. When warm, settled weather comes (past the threat of frost and with nighttime temps reliably above 50F) you can start acclimating young plants to life outdoors, gradually accustoming them to brighter light and wind. A partially shaded coldframe is ideal.
This series covers some essential aspects of fig growing. There’s a ton of additional information available online from sources including state extension services, Facebook groups (this one is a favorite), enthusiasts and fig sellers. I picked up useful advice and encouragement early on from Steven Biggs’ Grow Figs Where You Think You Can’t. A more detailed book (with the caveat that some of its advice such as avoiding all fig trees with FMV and not bothering with drying figs, is off-base in my opinion) is Growing Figs In Cold Climates by Lee Reich.
Remember that the sport can be addictive - don’t blame me if you wind up a figaholic with a yard full of fig trees.